Not every vehicle wrap is created equal, and the gap between a professionally installed wrap and a rushed, budget installation is wider than most fleet managers realize. A poorly applied wrap can peel at the edges within months, trap air bubbles that distort your logo, and ultimately send a message to customers that your business cuts corners. For New Jersey businesses investing in fleet branding, wrap installation is not just a finishing step. It is the single most important factor that determines whether your mobile advertising actually works.
Table of Contents
- Understanding wrap installation: The basics
- How the professional process works
- Why expert installation matters for New Jersey fleets
- What makes a reliable wrap installer?
- The truth most fleet owners miss about vehicle wraps
- Upgrade your fleet’s branding with professional wrap installation
- Frequently asked questions
Key Takeaways
| Point | Details |
|---|---|
| Skilled installation matters | Professional wrap installation prevents branding failures and maximizes fleet impact. |
| DIY has risks | Attempting DIY wrapping often leads to bubbling, lifting, or early wrap failure. |
| Quality pays off | Premium materials and certified installers ensure wraps last years, not months. |
| Fleet value multiplier | Properly wrapped vehicles act as reliable mobile billboards, boosting advertising ROI. |
Understanding wrap installation: The basics
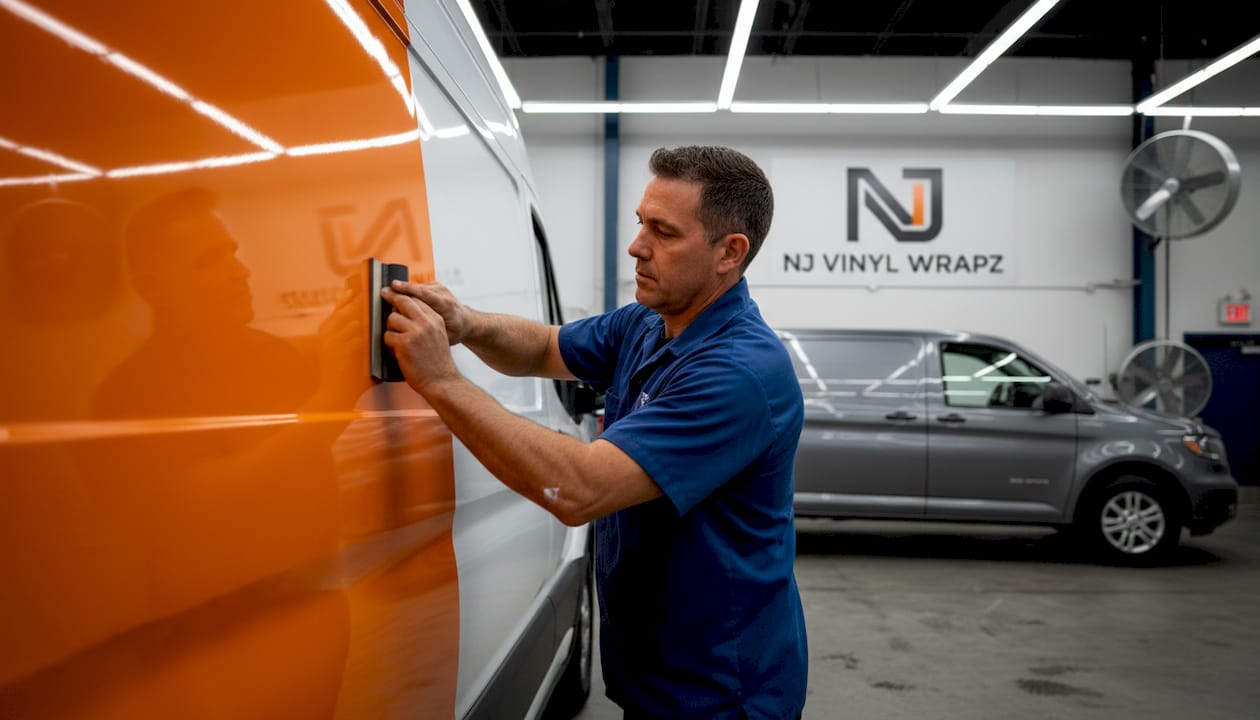
Wrap installation is the process of applying large-format vinyl graphics to a vehicle’s painted or factory-finished surfaces. The vinyl is printed with your brand’s design, then carefully stretched, pressed, and trimmed around the body panels, mirrors, bumpers, and curves of the vehicle. Done right, it looks like a factory finish. Done wrong, it looks like a sticker that’s already giving up.
The most critical distinction here is between professional and amateur methods. Professional installation follows a precise, multi-stage workflow that accounts for the vehicle’s specific geometry, the ambient temperature during installation, and the type of vinyl being used. Amateur methods tend to skip steps. And those skipped steps are exactly where wrap installation failures happen, including bubbles from trapped air or dirt, lifting edges from poor surface prep, and premature shrinkage because the vinyl was never post-heated after application.
Here is what a professional installation covers at every stage:
- Surface cleaning and decontamination: Removing grease, wax, road film, and microscopic particles that prevent vinyl adhesion
- Panel mapping and template cutting: Pre-measuring each section of the vehicle so vinyl pieces are cut to fit precisely before application begins
- Laying and squeegeeing the vinyl: Applying the film with controlled tension, using professional squeegees to eliminate air pockets without tearing
- Heat forming around curves and contours: Using heat guns to conform vinyl to recessed areas, door handles, and complex shapes
- Edge sealing and post-heating: Locking the edges and seams to prevent lifting, which is the step most DIY wraps skip entirely
“Skipping any one of these steps, especially post-heating, is the fastest way to turn a new wrap into a repair bill within the first year.”
Whether you are considering types of wrap options such as full wraps that cover the entire vehicle, partial wraps that brand specific panels, or simple lettering and decals, the installation process still demands the same level of precision. The format may change. The standards do not.
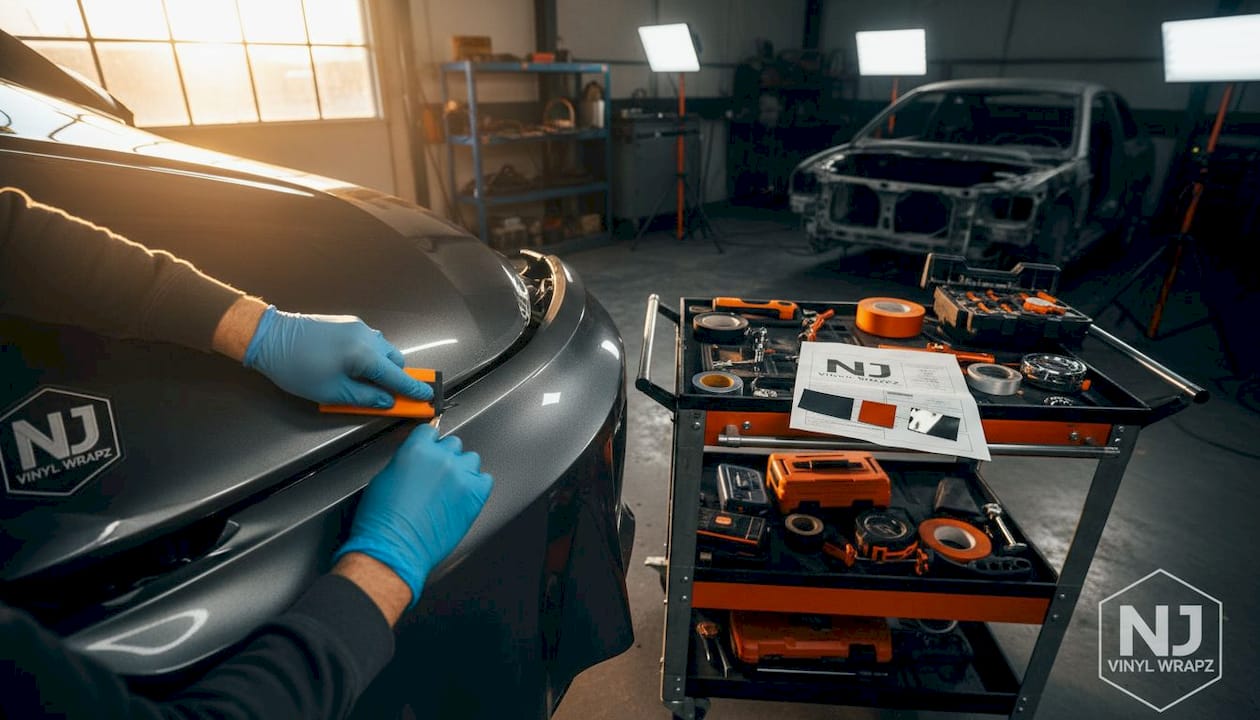
How the professional process works
Understanding the process in more detail reveals why professional wrap installation is not something you can replicate with a YouTube tutorial and a heat gun from a hardware store. Every stage builds on the last, and a certified installer manages variables that most business owners never think about.
Here is the step-by-step breakdown that professionals follow for the full wrap process:
- Initial vehicle inspection: Checking for rust, dents, or paint issues that could cause adhesion failure. Damaged paint must be addressed before wrapping.
- Deep cleaning and degreasing: Using isopropyl alcohol and specialty cleaners to remove all surface contaminants. This step alone takes 30 to 60 minutes per vehicle.
- Panel mapping and digital template alignment: Matching the printed design to the vehicle’s body lines so graphics align perfectly across doors and panels.
- Controlled environment setup: Moving the vehicle into a climate-controlled installation bay. Temperature and humidity directly affect how vinyl adheres and conforms.
- Vinyl application by section: Working panel by panel, applying film with even tension and professional squeegees to eliminate air entrapment.
- Heat forming around recessed areas: Using calibrated heat guns to press vinyl into door handles, mirrors, bumpers, and body curves without overstretching.
- Trimming and edge work: Precision cutting at panel edges, ensuring clean lines with no raw edges exposed to wind or moisture.
- Post-heat treatment: Running heat across every edge and seam to activate the adhesive fully and lock the vinyl in place.
- Final quality inspection: Reviewing the finished vehicle for bubbles, misalignments, or lifting, then correcting before the vehicle leaves the shop.
Pro Tip: Before signing any contract with a wrap shop, ask directly whether their installation bay is climate-controlled and whether their installers hold recognized certifications. If they hesitate or can’t answer, walk away.
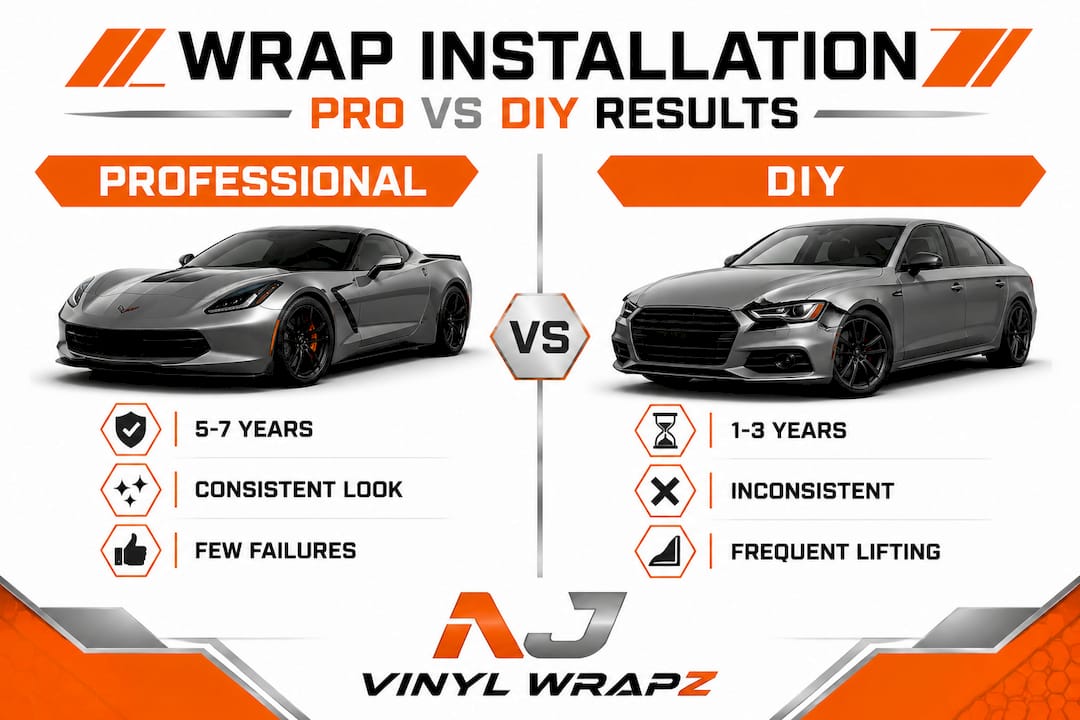
| Factor | Professional installation | DIY installation |
|---|---|---|
| Material quality | 3M, Avery (5 to 7 year lifespan) | Generic vinyl (1 to 3 year lifespan) |
| Failure rate | Less than 10% with proper workflow | 60 to 80% experience issues within 2 years |
| Warranty | Typically 2 to 5 years | None |
| Cost range | $2,500 to $5,000+ per vehicle | $500 to $1,500 in materials, plus labor |
| Downtime risk | Minimal with scheduled installs | High, with likely re-do required |
The numbers make a clear case. Saving money upfront on a DIY install almost always leads to higher costs over the life of the vehicle.
Why expert installation matters for New Jersey fleets
New Jersey’s climate creates specific challenges for vehicle wraps that many business owners underestimate. Freezing winters, humid summers, and heavy road salt exposure all test the durability of vinyl in ways that mild climates never encounter. A wrap installed without proper edge sealing will start to lift within one winter when moisture gets under the film and freezes. That lifting accelerates, and within a season, your branded van looks like it’s shedding its skin on the highway.
Statistic callout: Certified professional installation avoids up to 80 to 90% of common wrap failures, according to research into professional vs. DIY outcomes. That is not a small margin. For a fleet of 10 vehicles, that difference could mean the gap between a consistent, professional brand presence and a patchwork of failed graphics that need emergency replacement.
Here is a direct comparison of what professional versus DIY installs mean for your New Jersey fleet:
| Outcome | Professional install | DIY install |
|---|---|---|
| Brand consistency across fleet | High, identical appearance | Variable, especially on complex vehicles |
| Advertising ROI | Strong, multi-year brand exposure | Reduced by early failures and re-wraps |
| Total cost over 5 years | Lower due to durability | Higher due to repairs and replacements |
| Vehicle downtime | Planned, minimal | Unplanned, frequent |
| Impression quality | Clean, credible, professional | Inconsistent, potentially damaging to brand |
When partial wraps are part of your fleet mix, proper installation is equally important because the seam between wrapped and unwrapped sections is a prime failure point if not sealed correctly. The same applies to lettering for fleet branding, where individual characters must be post-heated to adhere to curved surfaces.
Common pitfalls that lead to premature wrap failure on New Jersey fleets include:
- Applying wraps in unheated garages during cold months when vinyl becomes stiff and resistant to adhesion
- Using vinyl films not rated for outdoor exposure in variable weather conditions
- Skipping the post-heat step on doors, bumpers, and lower rocker panels
- Wrapping over dirty or waxed surfaces, which creates an adhesion barrier
- Cutting corners on edge work around mirrors and window trim, leaving raw vinyl exposed to wind lift
Every one of these failures costs money in replacement materials, labor, and vehicle downtime. More importantly, they cost you the advertising impressions your wrapped fleet is supposed to generate every single day on New Jersey roads.
What makes a reliable wrap installer?
Choosing the right installer is as important as choosing the right design. You would not hire a graphic designer based on price alone when your logo is involved, and the same logic applies to the person applying that logo to your entire fleet. Here is a numbered checklist to evaluate any installer before committing:
- Certification: Ask specifically whether the installers hold 3M or Avery certification. These programs require demonstrated proficiency and regular recertification.
- Material brands used: Reputable shops use 3M, Avery Dennison, or equivalent premium-grade vinyl. If a shop cannot name the brand they use, that is a red flag.
- Climate-controlled bay: This is non-negotiable. Temperature below 60°F or above 90°F during installation significantly increases failure risk.
- Warranty terms: A professional shop stands behind its work with a written warranty covering materials and installation defects.
- Portfolio with fleet work: Ask to see photos of completed fleet projects, not just single vehicles. Fleet consistency is a skill that requires experience.
- Turnaround time transparency: Rushed jobs cut steps. Ask how long the install takes per vehicle, and be wary of anyone promising same-day full wraps.
Complex curves, low-energy plastic surfaces, and bumpers require sequential vinyl application, relief cuts to eliminate tension, and careful heating to conform without stretching. Ask your prospective installer specifically how they handle bumpers and mirrors. Their answer will tell you a lot about their skill level.
Pro Tip: Avoid any shop quoting significantly below the market average for your area. Wrap film alone for a full-size van or truck costs several hundred dollars in materials. If the total quote seems too low, it means either the film is substandard or the labor is being rushed.
Beyond the checklist, pay attention to how the shop communicates. Do they ask about your brand standards? Do they request high-resolution files for your graphics? Do they walk you through the process before you commit? A professional installer treats your fleet as a brand asset, not just another job on the schedule. If you are exploring color change wrap options alongside fleet branding, a quality shop can handle both without compromising the standard on either. For businesses needing broader branding solutions, combining vehicle wraps with commercial signage services ensures your brand looks consistent both on the road and at your location.
The truth most fleet owners miss about vehicle wraps
Here is the perspective we share after over 10 years of working with New Jersey businesses and fleet managers: the conversation almost always starts with price, and it almost always should start with durability.
The most common mistake fleet managers make is treating wrap installation like printing. They think that if the design looks good on screen and the quote is reasonable, the job is done. But a wrap is not a printed document. It is a structural application that lives on a moving vehicle through heat, cold, rain, highway speeds, and tight parking lots. The installation is the product, not just the packaging.
We have seen fleets where a business spent thousands on premium design work, then gave the installation to the lowest bidder. Within eight months, the wraps on the lower doors were lifting, the bumper graphics were cracking, and the fleet looked worse than unbranded vehicles would have. The company ended up spending more money fixing those wraps than a proper installation would have cost in the first place.
The real measure of a wrap’s value is not how it looks on day one. It is how it looks on day 600, on the highway at 70 miles per hour, when a potential customer is driving alongside your van and forming an opinion about your business in seconds. A bubbled, peeling graphic communicates negligence. A sharp, uniform wrap across every vehicle in your fleet communicates professionalism, consistency, and scale. That impression is worth protecting.
Investing in quality fleet wrap expertise is not a luxury for large fleets. It is the baseline for any business that wants its vehicles to work as advertising assets rather than liabilities.
Upgrade your fleet’s branding with professional wrap installation
At NJ Vinyl Wrapz, we have spent over a decade helping New Jersey businesses turn their vehicles into powerful, consistent brand statements. Our certified installers work in a fully climate-controlled facility using premium 3M and Avery materials, backed by written warranties on every project.
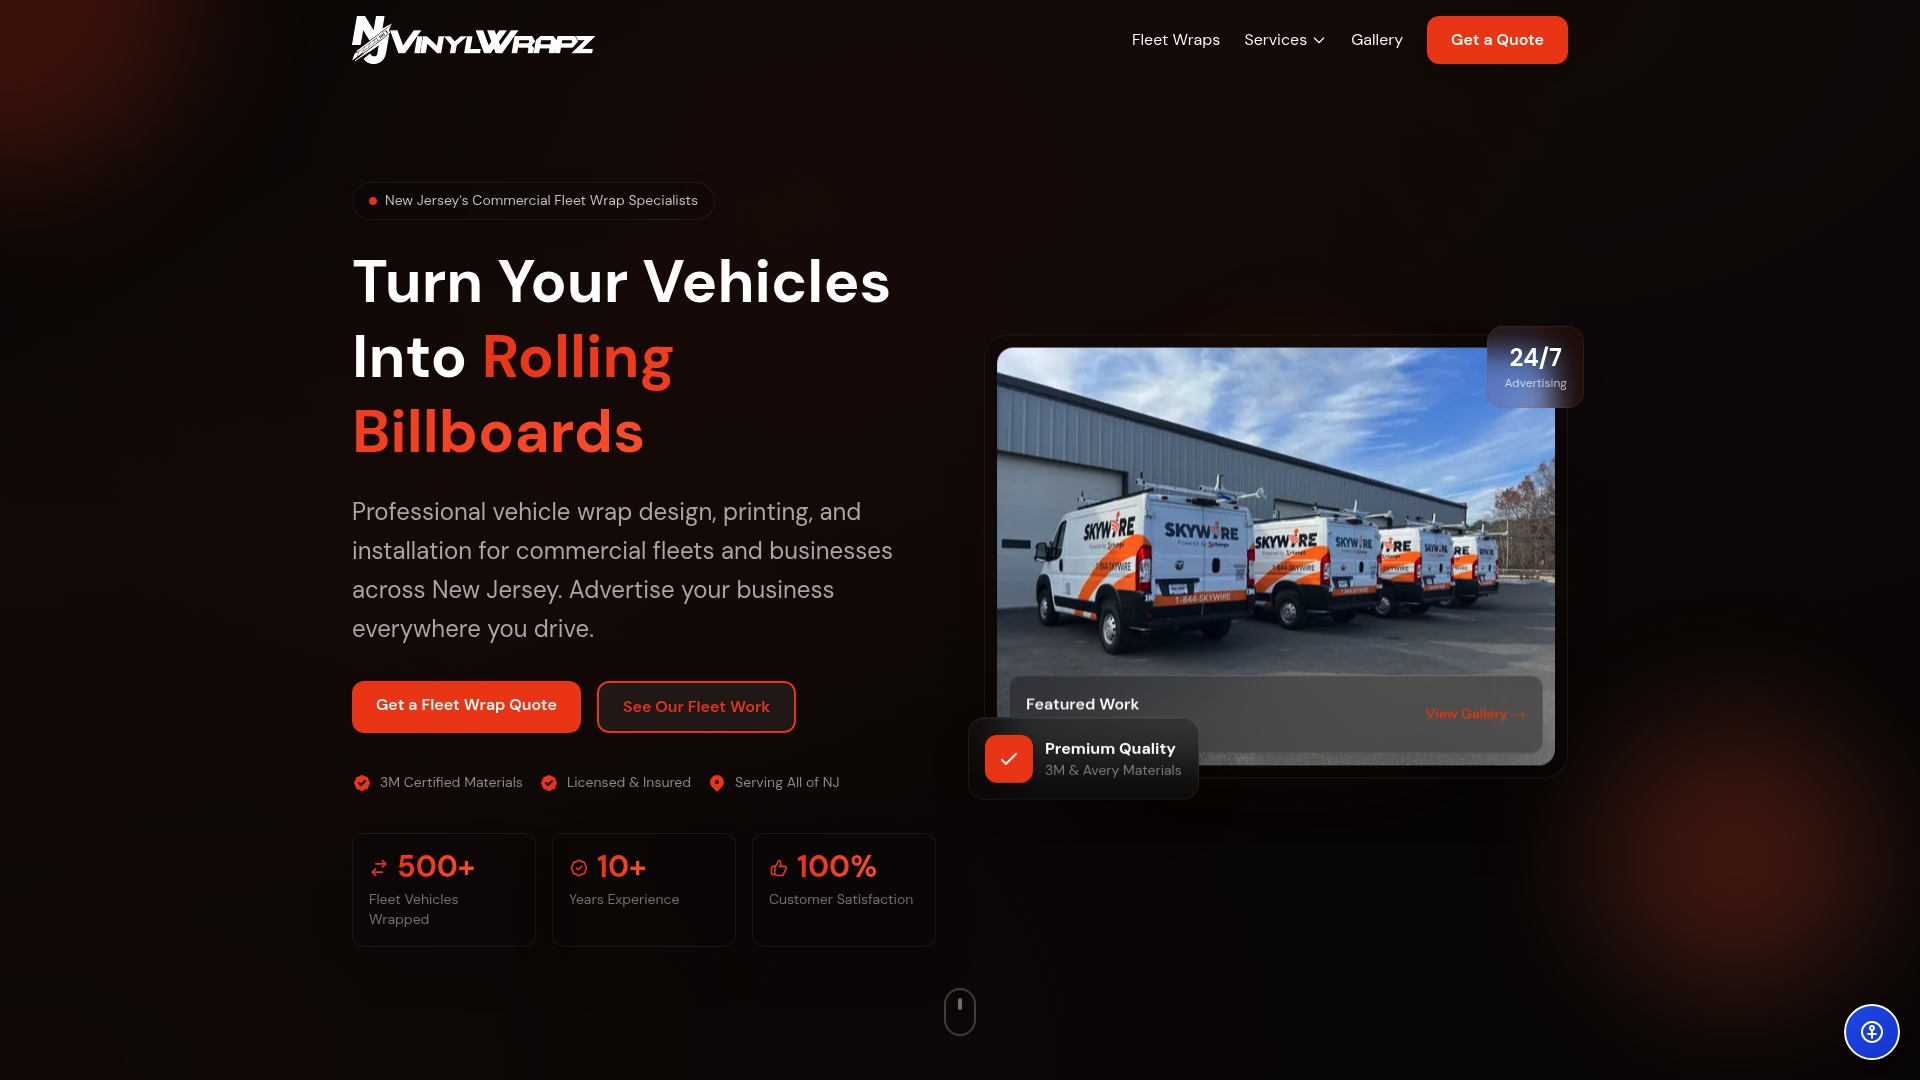
Whether you manage a fleet of two or twenty vehicles, we bring the same rigorous process to every installation. From consultation and design through printing, installation, and final inspection, we handle everything in-house so you get consistent results every time. Explore fleet wraps for NJ businesses and see how we match your brand standards across every vehicle. You can also browse full vehicle wraps or visit NJ Vinyl Wrapz to request a free quote or schedule a fleet consultation today.
Frequently asked questions
How long does a professional vehicle wrap last?
High-quality wraps installed by professionals using premium vinyl typically last 5 to 7 years before needing replacement, compared to 1 to 3 years for budget materials.
Can I install a wrap on my own fleet vehicles?
DIY installation is possible on flat, simple panels, but risks bubbles and lifting and complex curves and bumpers require sequential application and relief cuts that most DIYers cannot execute correctly.
What are the most common causes of wrap failure?
Most failures trace back to poor surface prep and improper heating, including bubbles from trapped dirt, lifting from inadequate adhesion, and shrinkage from skipped post-heat treatment.
Do wraps damage original vehicle paint?
When applied and removed by certified professionals, wraps actually protect the original paint from UV exposure and minor abrasion rather than damaging it.
What is the cost difference between a DIY and a professional wrap?
Professional wraps cost more upfront, but premium 3M and Avery films outlast cheap alternatives by 4 to 5 years, making the total cost of ownership significantly lower over the life of your fleet.