
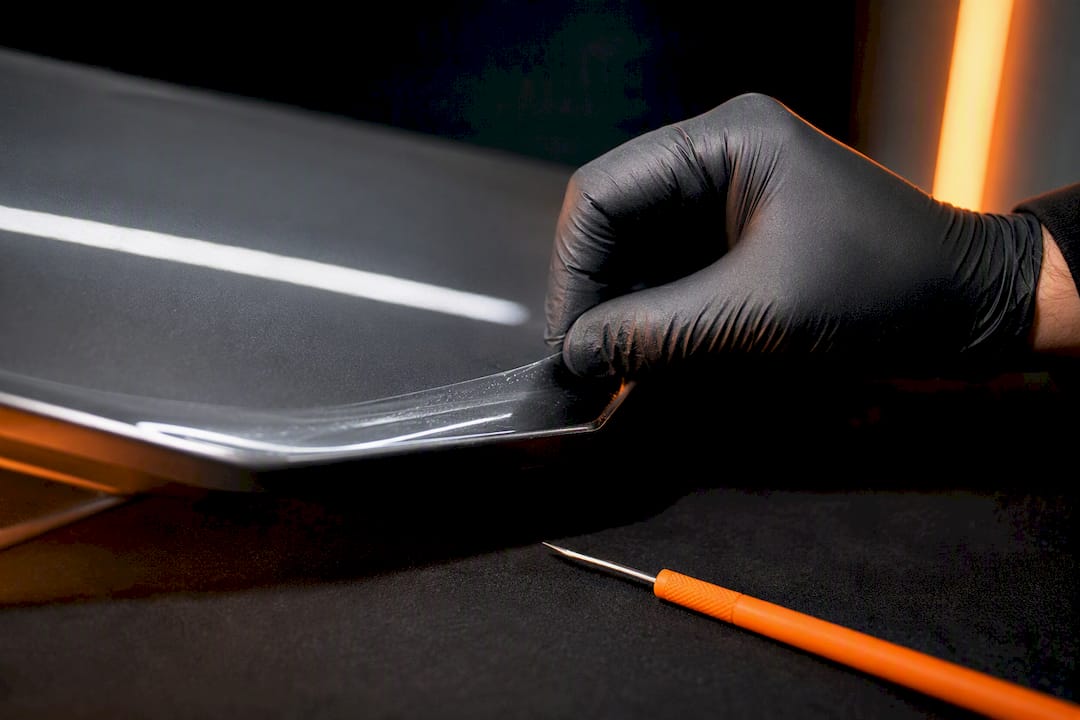
Yes, you can apply vinyl wrap over paint protection film, but only when that film is clean, fully bonded, and free of defects. The main risks are edge lift, show-through, and adhesive incompatibility between the two layers, and each one traces back to skipping inspection or prep. Professional installation cuts those risks sharply, but no installer can guarantee a clean result over damaged or aging film.
TL;DR:
- Wrap over PPF works best when the film is fully bonded, smooth, and shows no signs of lifting, yellowing, or textured deterioration.
- Proper surface prep includes washing, decontaminating, and testing a small patch to ensure adhesion and avoid show-through or lifting.
- Gloss finishes on PPF provide the safest surface for wrapping, while matte or textured films increase adhesion risks and visibility of defects.
- Temperature control during installation is critical; most work best between 60 and 80°F, with heat above 130°F causing pattern damage.
- Inspect and repair any lifting or damage before wrapping, and wait at least 48 hours after PPF installation to ensure complete curing and outgassing.
Table of Contents
- When Wrapping Over PPF Makes Sense
- Preparation Checklist: Wash, Decontaminate, Inspect, Test
- Materials and Compatibility: Wrap Films and PPF Finishes
- Installation Best Practices and Common Pitfalls
- Removal and Long-Term Maintenance
- Installer Perspective and Shop Rules of Thumb
- What This Means for Your Decision
- Get an Honest PPF Inspection Before You Wrap
- Sources
- FAQ
When Wrapping Over PPF Makes Sense
The decision comes down to what the PPF looks like right now, not how old it is on paper. A film installed two years ago with poor edge work can be a worse candidate than a six-month-old install done right.
PPF passes the test when it shows no lifting at the edges, no yellowing, minimal surface texture, and full adhesion across the panel. Vinyl bonds best to a smooth, stable surface, and gloss PPF in good shape gives it exactly that. Shop guides consistently point to the same pass criteria: vinyl can go over PPF when the film is smooth, clear, fully bonded, and undamaged.
Fail conditions are just as clear-cut:
- Widespread lifting or bubbling at panel edges or seams
- Visible yellowing, which signals UV breakdown of the film’s topcoat
- Prior patch repairs or spot replacements that create texture inconsistencies
- Film with a rough, orange-peel texture from age or a low-grade original install
Your goal matters too. If you want color change plus continued impact protection, wrapping over sound PPF is often the more efficient path. If your real goal is fixing damaged protection, removing and replacing the PPF first almost always beats wrapping over a problem you’ll still have underneath.
Preparation Checklist: Wash, Decontaminate, Inspect, Test
Skipping prep steps is the single fastest way to turn a good wrap job into a comeback. The sequence matters as much as the individual steps.
- Wash with a pH-neutral soap to strip road film, wax, and grease without stripping or softening the PPF topcoat.
- Clay bar the surface to pull embedded contaminants that a wash alone won’t remove.
- Wipe down with isopropyl alcohol (IPA) to eliminate any remaining oils before vinyl adhesive makes contact.
- Run a visual and hand inspection across every panel edge, seam, and high-flex area, feeling for lift you can’t always see.
- Apply a small test patch in a low-visibility spot and let it sit to check for show-through, adhesion strength, and texture transfer.
Timing counts for as much as technique. Freshly installed PPF needs time to finish curing and outgassing solvents trapped under the film. Installers generally recommend waiting 48 to 72 hours after PPF installation before laying vinyl on top, giving the adhesive time to fully set rather than reacting with a second layer of film.
Pro Tip: Don’t skip the test panel even on PPF that looks perfect. A hidden section behind a mirror or inside a door jamb reveals adhesion problems in an hour that would otherwise show up on the hood a week later.
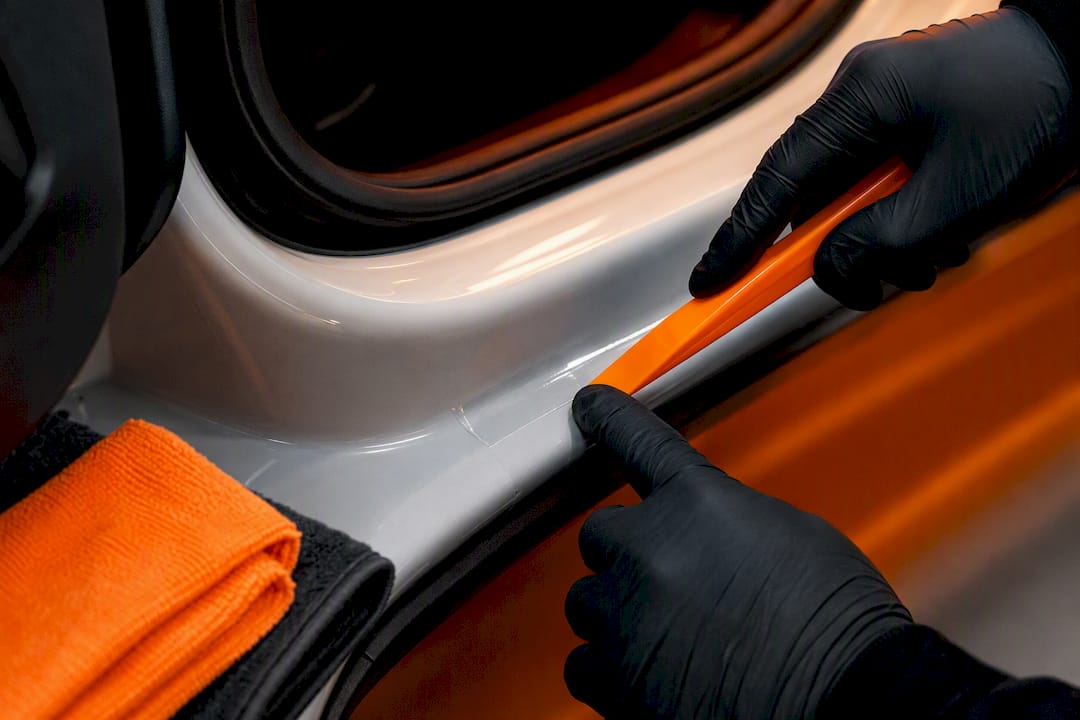
Materials and Compatibility: Wrap Films and PPF Finishes
Pairing matters more here than most owners expect. Gloss PPF under gloss vinyl is the safest combination because gloss surfaces minimize microtexture, and reduced texture is what keeps show-through and adhesion variability to a minimum. Matte, satin, textured, and color-shift PPF finishes are riskier. Their surface irregularities telegraph through thinner vinyl and interfere with even adhesive contact.
A few compatibility notes worth knowing before you commit:
- PPF product families like XPEL’s Stealth line include matte finishes specifically built to stay uncovered. Wrapping over them defeats the point and adds real adhesion risk.
- Dry-apply color PPF systems, such as Avery Dennison’s PrismaPro line, require specific tack management and low-heat handling that differs from standard cast vinyl installs.
- Premium cast vinyl outperforms calendered vinyl for stretch, conformability, and long-term dimensional stability, which matters most on curved panels sitting over an already-thick PPF layer.
Installation Best Practices and Common Pitfalls
Temperature control makes or breaks a wrap-over-PPF job more than almost any other variable. Most installers work in a range of roughly 60 to 80°F, since cold film turns brittle and stiff, while excess heat softens both the vinyl and the PPF beneath it, risking distortion in the bottom layer.
Technique matters just as much as environment:
- Use wet-face buffering on your squeegee to reduce drag and avoid scarring the vinyl surface.
- Ultra-slick installation gloves cut friction during hand work, keeping pressure even across panels.
- Keep heat under 130°F (55°C) when relaxing film into contours, since Avery Dennison’s own installation bulletin warns that overheating or excessive pressure causes pattern show-through and topcoat damage.
- Leave a tiny inner margin at panel edges rather than wrapping fully into them, or choose a flush cut with sealed edges depending on the panel geometry.
- Overlap seams by 0.25 to 0.5 inches per manufacturer guidance, and seal those seams properly rather than leaving raw edges exposed. Partner resources on edge sealing for film cover the booth-level techniques that stop lift before it starts.
The pitfalls that show up most often in shop callbacks: overheating film until it distorts, pressing too hard and creasing the PPF underneath, cutting into paint during trim work, and installing directly over edges that were already lifting before the job started.
Pro Tip: If an edge lifts even slightly during inspection, fix it before wrapping, not after. Vinyl applied over a lifting edge locks the defect in place and makes it far harder to repair later.
Removal and Long-Term Maintenance
Layered film removal carries more risk than most owners assume going in. As adhesives age, the bond between vinyl and the PPF beneath it can actually grow stronger than the bond holding the PPF to your paint, and pulling vinyl off an older layered install can lift the PPF right along with it.
Maintenance habits that protect both layers over time:
- Wash with gentle, pH-neutral products and avoid high-pressure spray directed straight at panel edges.
- Skip abrasive polishes and compounds near seams, since they wear down edge sealing faster than flat panel surfaces.
- Inspect edges and seams every few months for early signs of delamination or lifting.
A well-executed layered install can last several years, but budget for it honestly. Removal and replacement of both layers eventually costs more than a single-layer job, so factor that into your decision before committing to wrap over existing protection rather than starting fresh.
Installer Perspective and Shop Rules of Thumb
Every inspection starts the same way: edges first, then seams, then a hand pass across the whole panel feeling for soft spots or trapped air. Borderline cases are the hardest calls. A PPF install that’s 18 months old with one small lifted corner near a mirror mount isn’t an automatic fail, but it does mean patching that spot before anything else happens.
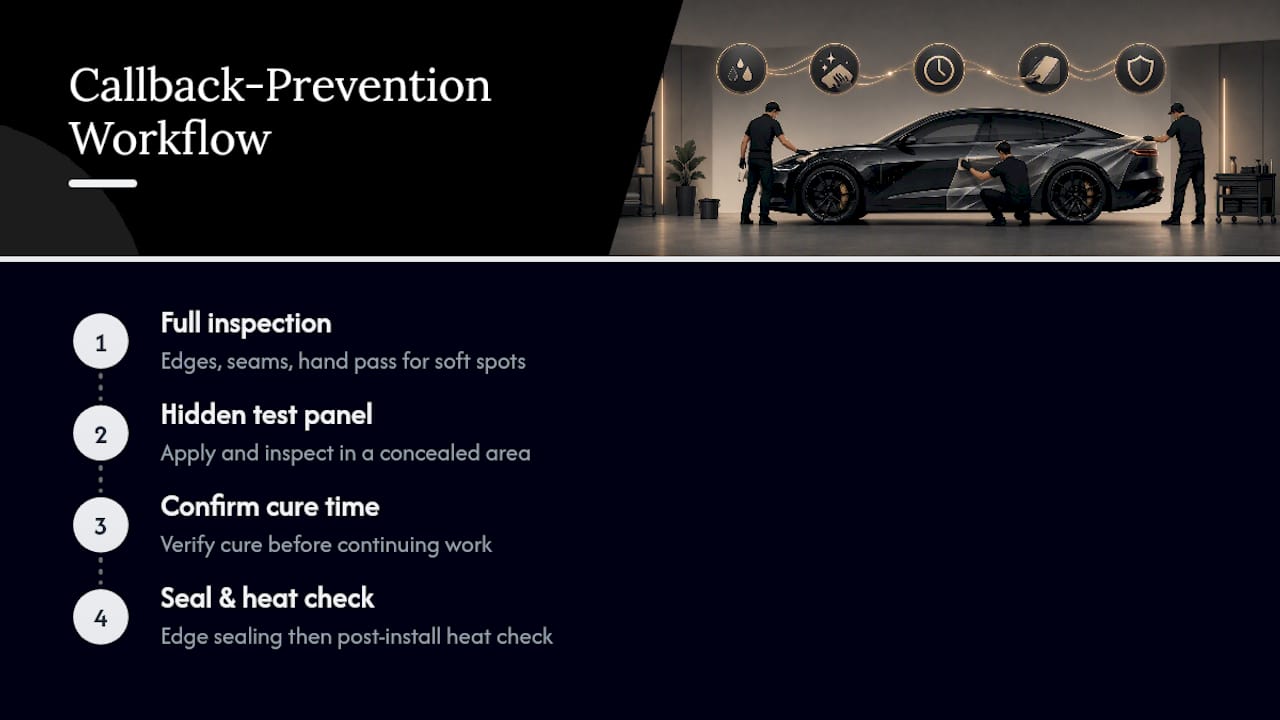
The workflow that keeps callbacks low is straightforward: full inspection, a test panel in a hidden area, confirmed cure time before proceeding, and edge sealing plus a post-install heat check once the wrap is on. Skipping any one of those steps is where most preventable failures start.
What This Means for Your Decision
Wrapping over PPF is a legitimate option, not a compromise, when the film underneath earns it. The rule holds regardless of vehicle type: excellent condition PPF plus thorough prep equals a wrap that performs the way you expect. Skip either half of that equation and you’re gambling with a job that costs real money to redo.
Before you commit, ask for an inspection, get written confirmation of cure time, and insist on a test panel. That sequence costs you almost nothing and tells you everything about whether the surface underneath is ready.
— NJ Vinyl Wrapz
Get an Honest PPF Inspection Before You Wrap
If your PPF has any question marks, the smartest move is getting it checked before a wrap goes anywhere near it. Professional installers inspect existing paint protection film for lifting, yellowing, and bonding issues, handle repair or full removal when the film doesn’t pass, and install color-change wraps in climate-controlled facilities using premium materials.

When requesting a quote, ask for documented cure times, photos of the surface before wrap application, and a written edge-seal warranty. These standards are generally applied on projects ranging from single personal vehicles to full commercial fleets. Explore color change wrap options or check current PPF, tinting, and ceramic coating services to get a project started with a real inspection first.
Sources
This guide draws on Avery Dennison’s own installation bulletin for dry-apply PPF, shop writeups on prep workflow and cure timing, and comparative guidance on PPF versus vinyl priorities.
- Avery Dennison application and removal instructional bulletin (PrismaPro dry-apply PPF)
- Wrap Over Paint Protection Film: A Guide to Vehicle Customization
FAQ
Can You Wrap on Top of PPF?
Yes, as long as the PPF is clean, smooth, fully bonded, and shows no lifting or yellowing. If the film fails any of those checks, remove and replace it before wrapping rather than covering up an existing problem.
How Much Does a PPF Wrap Job Cost?
Costs vary based on vehicle size, coverage area, and whether existing PPF needs repair before the wrap goes on. NJ Vinyl Wrapz’s partial wraps run 1500-3000 USD one-off, while full wrap and PPF pricing depend on your specific vehicle, so current quotes are available directly through the shop.
Is It Easier to Wrap a Car or Apply PPF?
Vinyl wrap installation is generally considered more forgiving than PPF for a first-time DIY attempt, since PPF requires precise wet-slip techniques and pattern alignment. Both jobs reward professional installation, and combining them (PPF first, then a wrap) adds a layer of complexity that favors an experienced installer.
What Is the Downside of Wrapping Over PPF?
The biggest risks are edge lift, visible show-through of the PPF’s texture, and adhesive layers bonding to each other more strongly than to the paint underneath. That last issue makes future removal harder, since pulling the vinyl off an aged installation can take the PPF with it.
Do You Need to Wait Before Wrapping Newly Installed PPF?
Yes. Fresh PPF needs time to finish curing and releasing trapped solvents before it can safely accept a second layer of film. Most installers recommend waiting 48 to 72 hours after PPF installation before starting wrap prep.